If you like this post, help us share it
The very first lighting technique that you need to know before anything else is bounce flash. It is the most common lighting technique yet very powerful. The technique simply direct a light source (flash or strobe) to a reflective surface and thereby bouncing the light to create a larger and more diffuse light. With bounce flash the size, colour (temperature) and direction of the light change as it bounces off a reflective surface. A single light source regardless of a flash or strobe gives a very harsh directional light. This is why modifiers such as soft boxes are used to soften the light. Generally, the larger the light the softer it is.
l
Bounce flash is a simple way to create a softer light. Sometimes you can bounce the light off a very large area and therefore mimic the effect of a very large soft box. If you are using an on-camera flash, you can simply tilt the flash to bounce it either to the wall behind you or on the side. This effectively create a large light source from where the light is reflected off. If the light is bounce to the side, then it follows basic physics where the angle of incidence equals to angle of reflection. Here is a tip, bounce the flash to the direction where you would have placed a soft box, the quality of light is as good as you would get from an off camera lighting. It is important to get the bounce direction correctly, so the light falls onto the subject at the right place.

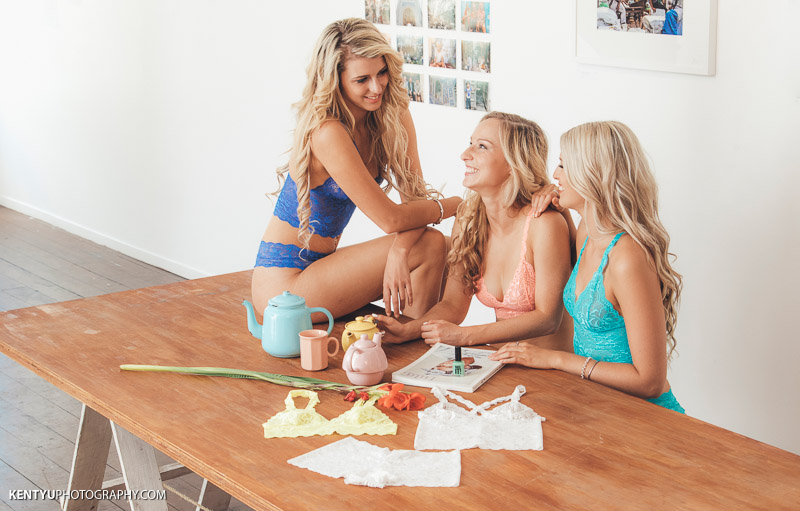
For off camera flash, place the flash on a light stand and points the flash to the bounce surface. As the flash is off camera, you will need to trigger the flash using triggers like PocketWizard Flex TT5/Mini TT1. Bounce flash can be used as fill light or directional key light depending on how you bounce the flash. In this set of photos here, we were shooting in a medium size room with low ceiling, the four walls are white, so it is the perfect place to use bounce flash. I have used a strobe instead of a flash here because I need more power and to reduce the flash recycle time, but the concept is the same. I have bounced the flash to the right side of the camera creating a key light from that direction and there were plenty of fills bouncing off the four walls.


The camera setting used was roughly ISO400, 1/100s, f/4.5-5.6. I couldn’t remember the setting on the strobe, but it was fairly low from memory.
Equipment used:
- Canon 5D mark III
- Canon 7D mark II
- Canon 24-105mm f/4 IS
- Canon 70-200mm f/2.8
- Elinchrom ELC Pro HD1000

Where can I find the equipment seen on this site?
If you find this site useful and planning to purchase any of the equipment seen on this site, please show your support by purchasing your photo equipment at B&H Photo Video, or through any of the affiliate links seen on this site.


