If you like this post, help us share it
If you are a concert photographer with photo pass , check out Todd’s concert photography site, he has all the information you need. For the rest of us, read on to find out.
How to take good concert photos? What should we use for concert photography?
Most people think they need a fast lens to shoot concerts simply because the venue is too dark, but this is not 100% true unless it is a small gig. Concerts are usually very well lit, the stage is lit by hundreds of stage lights. The secret in taking good concert photos is you need to be in a good spot. Good spot as in somewhere pretty close and centred. Despite the stage being well lit, you will still need a fast lens, so you can use a fast shutter speed. This is to capture the action on stage and to minimise camera shake when you are using telephoto lens. You should pick lenses that are f/4 or faster. 90% of your shots will fall within the range of focal length 24mm-200mm, so the duo 24-70mm and 70-200mm make a perfect combo. If you are using f/2.8 telephoto lens, 1.4x teleconverter TC-14E will be useful with the extra reach. Forget about the 1.7x teleconverter, the loss of 1.5 stops light is too much for concert photography.
Typically, you should aim to use a shutter speed of at least 1/125s or 1/200s if you are using a telephoto lens like the 70-200mm. Even though the 70-200mm is equipped with VRII, you will still want to keep your shutter speed high for concert photography. You will expect to use an ISO of at least 800. For smaller gigs when lighting is limited, you may be restricted to use f/2.8 or faster, ISO of 1600 or above and slower shutter speed (but should stay above 1/100s).
Always shoot in manual mode, the lighting in a concert will definitely fool your camera metering system. Here are the steps:
-
Use manual mode
-
Spend the first 60 seconds to check what exposure setting to use by taking some test shots. Start with settings like ISO1600, f/4, 1/125s
-
Check the histogram and adjust the settings until you have roughly the correct exposure.
-
Once you have a rough idea of the exposure setting, say ISO 1600, f/4, 1/200s, remember how bright the stage was with this setting in your head. This becomes a brightness reference for you.
-
As the lighting changes, compare the brightness to the reference you had before and adjust the exposure. If the lighting is not as bright, dial down by 1 stop (dial down the shutter speed to 1/100s), if the lighting is brighter, dial down by 1 stop (dial up the shutter speed to 1/400s). You may need to adjust by +2/-2 stop if the lighting is much darker/brighter compare to your brightness reference.
-
Hint: Use a suitable shutter speed so you have room for dial up and down by a stop. For example, if you set your reference shutter speed to 1/100s then when you need to dial down by 1 stop (1/50s), the shutter speed will become too slow for concert.
Use two bodies if you have the luxury to do so, you will almost have no time to change lenses. If you don’t have a photo pass, zoom lenses will work best for you since you won’t have any room to move around. I would recommend these lenses for concert photography. They will cover 90% of your shots.
-
Nikon 24-70mm f/2.8 or Canon 24-70mm f/2.8
-
Nikon 24-105mm f/4 or Canon 24-105mm f/4
-
Nikon 70-200mm f/2.8 VRII or Canon 70-200mm f/2.8 IS2
-
Canon 70-200mm f/4
There are some special lenses that will also work for you which cover the remaining 10% of your shots.
-
Nikon 14-24mm f/2.8 or Nikon 17-35mm f/2.8 or Canon 17-35mm f/2.8
-
Nikon 24mm f/1.4 or Canon 24mm f/1.4
-
Nikon 35mm f/1.4 or Canon 35mm f/1.4
-
Nikon 300mm f/2.8 or Canon 300mmf/2.8
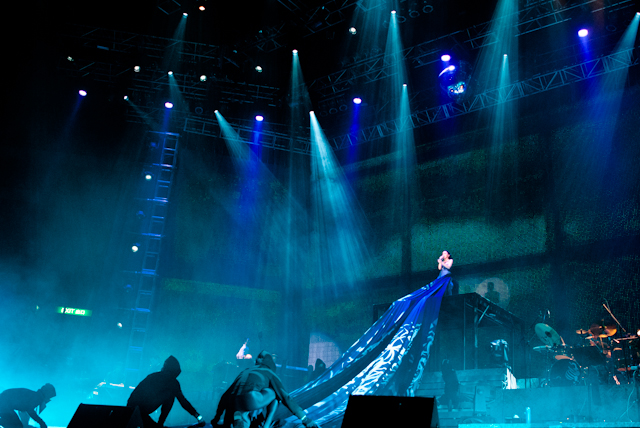
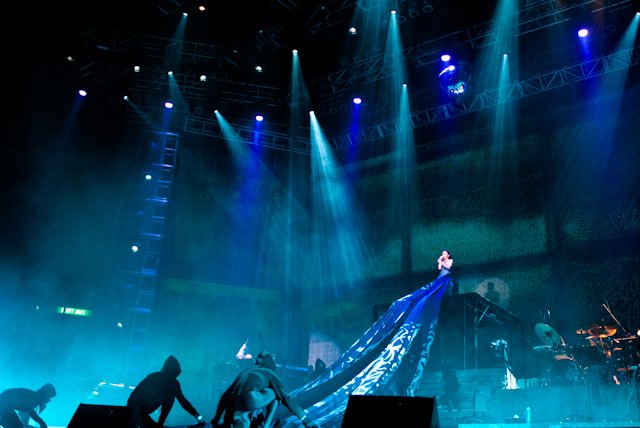
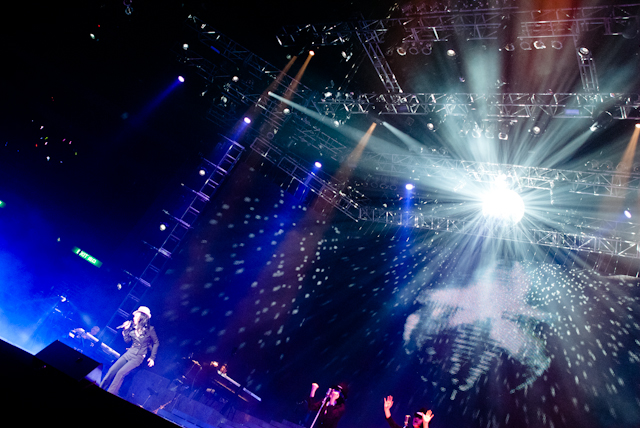
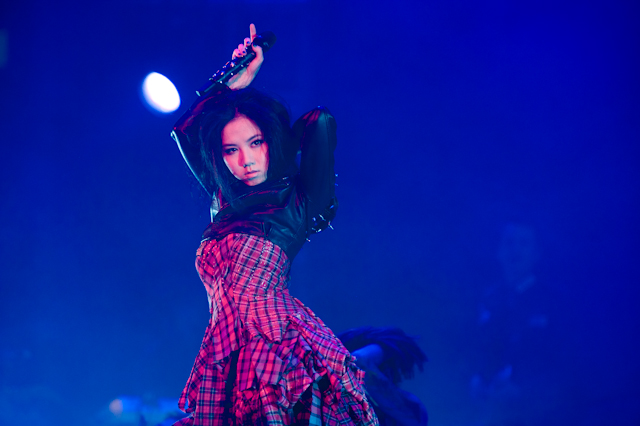
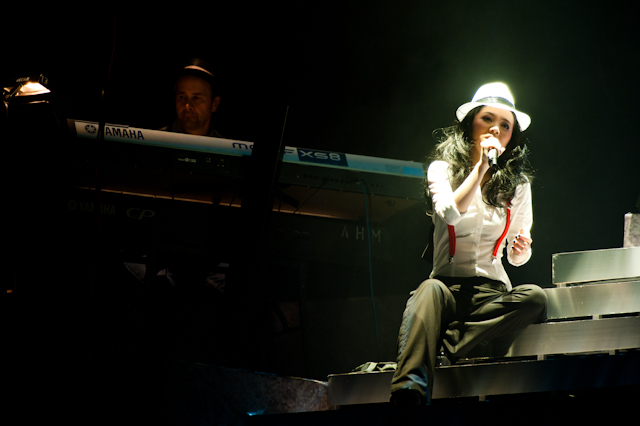
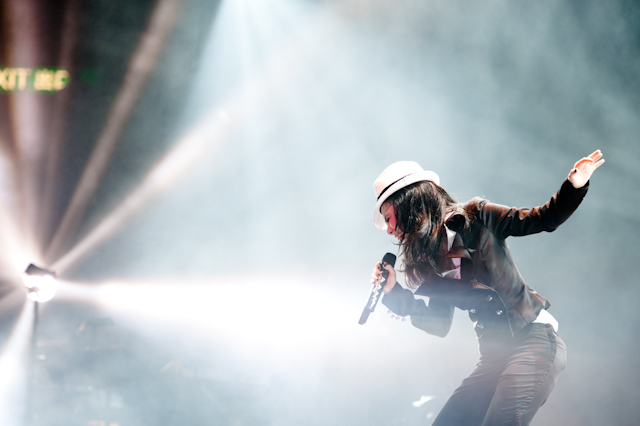
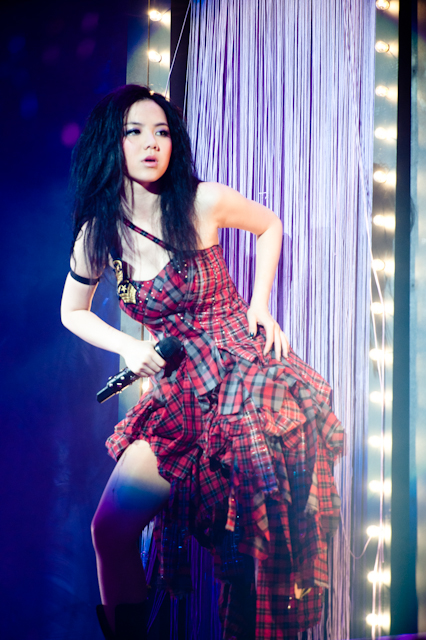
On a recent concert, I took the Nikon 24mm f/1.4, Nikon 70-200mm f/2.8 and TC-14E along. My settings were roughly f/2, 1/160s with the 24m and roughly f/2.8-f/4, 1/200s with the 70-200mm.
Here are some samples.






Where can I find the equipment seen on this site?
If you find this site useful and planning to purchase any of the equipment seen on this site, please show your support by purchasing your photo equipment at B&H Photo Video, or through any of the affiliate links seen on this site.
